 Deutschland
 Español
 France
 Italian
 日本語
日本語 한국
한국 Português
 中文
中文 русский
 Nederland
 Denmark
-
Marble material
a professional stone manufacturer DISNEY GOLD SUPPLIER SHANGHAI,CHINA.
Marble material
a professional stone manufacturer DISNEY GOLD SUPPLIER SHANGHAI,CHINA.
Marble material
a professional stone manufacturer DISNEY GOLD SUPPLIER SHANGHAI,CHINA.
News
News>Starrock NewsHow to Install Tile Flooring
Addtime : 2016-12-06 View : 5688次The experts show how to remove old carpet and replace it with a tile floor.
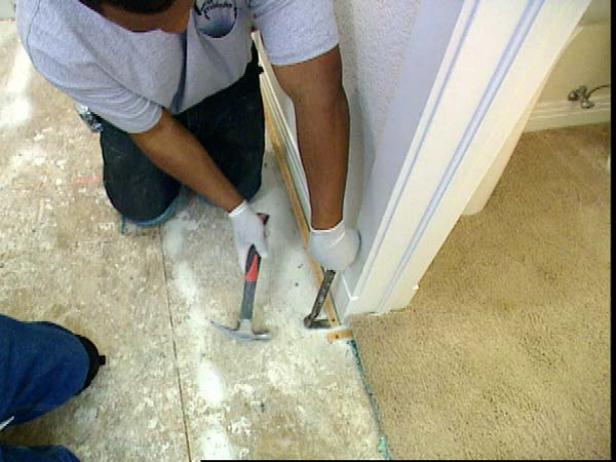
Step1.
Prepare the Subfloor
Cut through the existing carpet with a utility knife to reveal the plywood subfloor below. To prepare the subfloor for underlayment, pull up the carpet pad and pry up all the tack strips. It's important to start with a smooth surface, so pull out any remaining staples and vacuum all the debris.
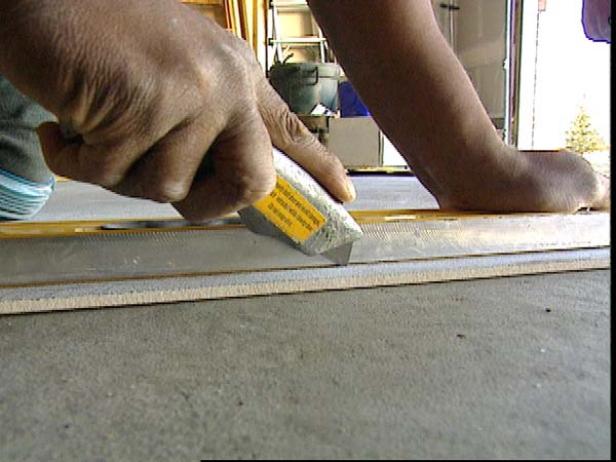
Step 2
Cut the Backer Board
With the sub-floor in good shape, begin setting the underlayment. Underlayment, or backer board, provides a good foundation for the tile. Without it, tiles can crack as the house settles and shifts over time. In order to fit the backer board into each nook and cranny, cut the 4' x 4' boards down to size using a utility knife.
Step 3
Add Mortar to the Subfloor
After carefully measuring the areas, transfer the measurements to each piece. Once the pieces are cut and dry fit, trowel a layer of mortar, or thin-set, on the subfloor. Screw down each piece. Allow for the thin-set to dry.
Step 4
Prevent a Lop-Sided Floor
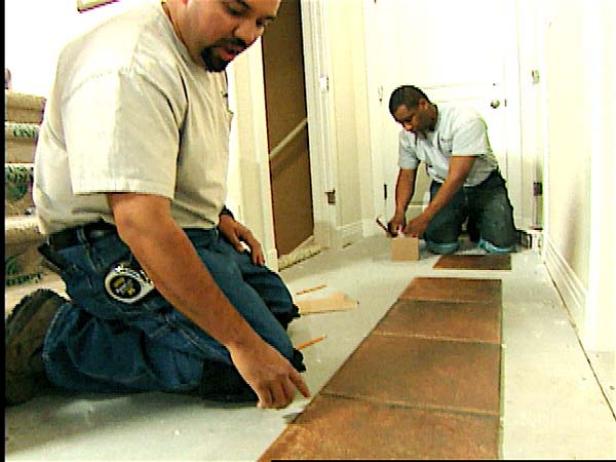
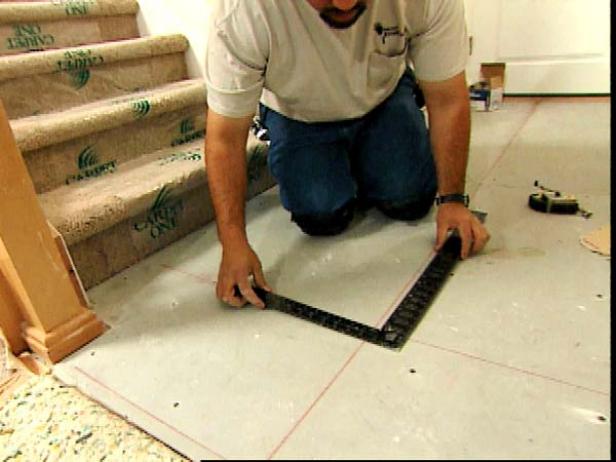
To prevent a lop-sided looking floor, create a layout that maintains a visual balance. Lay a row of tiles as a reference (Image 1), and create a grid with a chalk line and a framing square (Image 2).
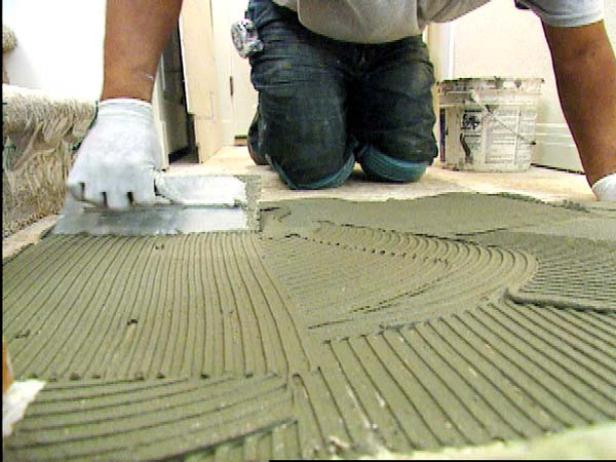
Step 5
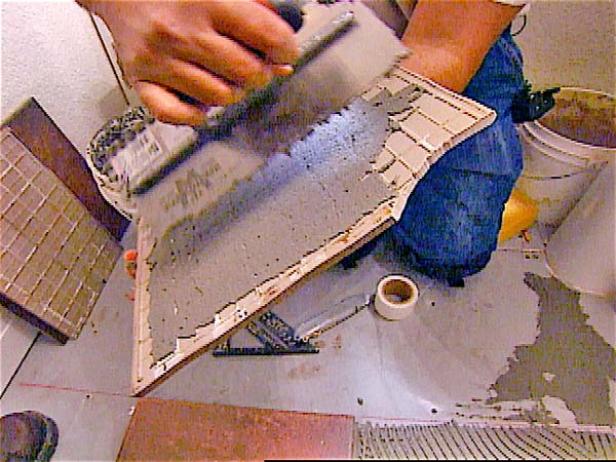
Back Butter the Tile
To install the tiles, trowel an even layer of thin-set on the underlayment, and back butter the tile for better coverage.
Step 6
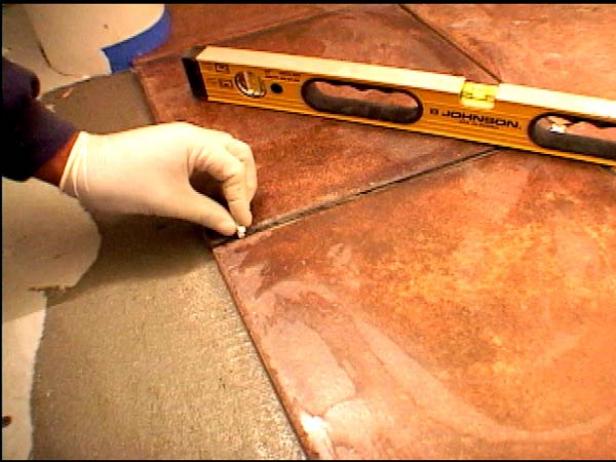
Place Spacers Between the Tiles
Once the tile is set, use a level to make sure the tile is flat and even. Place spacers between each corner.
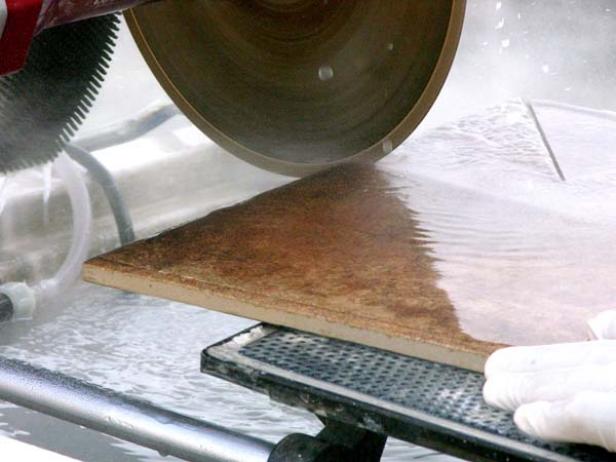
Step 7
Cut Each Tile
For tiles that run adjacent to the wall or around corners, carefully measure the space, and use a diamond blade wet saw to cut each tile to size.
Step 8
Step 9Transfer Measurements
For tough cuts around the sink or sewer opening, transfer a group of measurements to low tack tape on the tile. Using tape gives an exact line to follow, so there's less room for error.
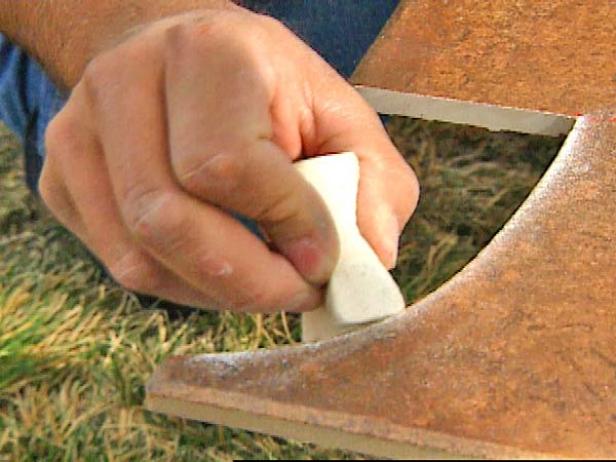
Cut Out a Curve
With the measurements plotted out, you can map out a precise curve (Image 1). Use the saw to make the initial cut, and refine the edge with a grinder and a rubbing stone (Image 2).

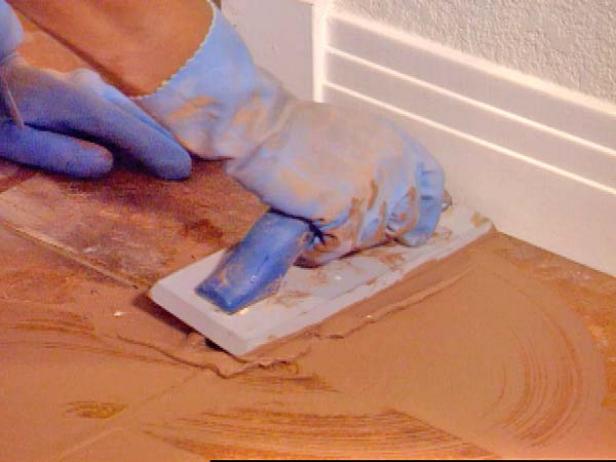
Step 10
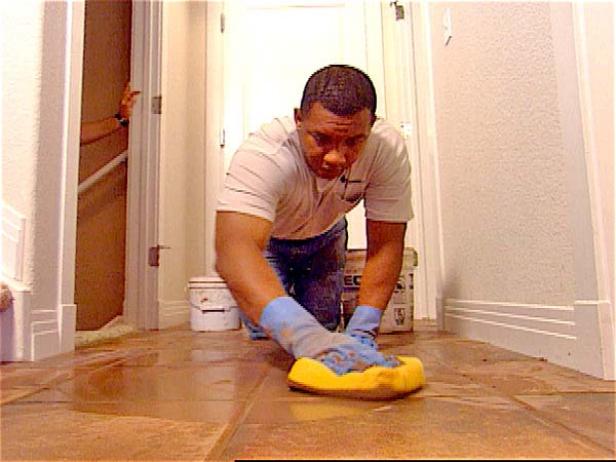
Grout the Tile
If the grout joints are 1/8" or larger, use a sanded grout for strength. As the house settles and shifts, the grout acts as another buffer so the tiles don't crack over time. Clean the tile surface, and use a rubber grout float to pack the grout in all the joints (Image 1). Once you fill all the joints, use a wet sponge to clean off the excess grout (Image 2). Wipe the joint while using a 45-degree angle to not remove the grout from between the tiles.
Step 11
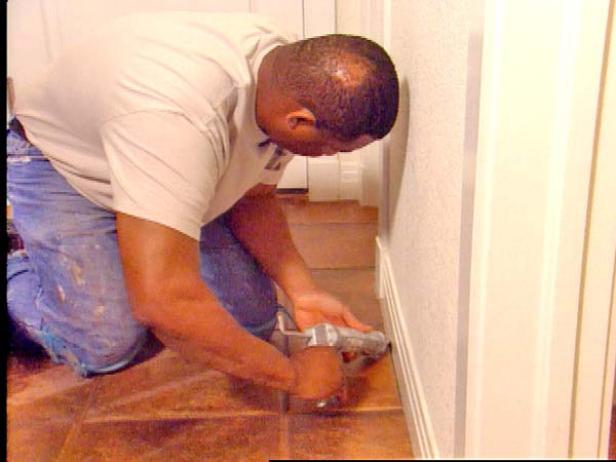
Caulk the Tile
Once the grout dries, caulk around the edges of any sinks or other items, as well as along the walls. Clean and buff the tiles to complete the project.
HOT TAG :
-

Tel:86-592-6019139,5615539
| -

Fax:86-592-5686628
| -

sales@xiamenstones.com